OTM supports loading data using CSV (comma-separated values) files. This is a practical method for bulk data uploads during initial implementation or data migrations — especially when the source data is available in spreadsheet form.
The approach works by first exporting a sample record from OTM in CSV format, which gives you the exact column structure OTM expects. You then populate that template with your data and upload it back. The steps below use a Location record as an example — the same process applies to any OTM business object such as Order Release, Shipment, Service Provider, Invoice, and more.
Step by Step — Load a Location via CSV:
Log in to OTM and create one sample Location record with all the fields you plan to load via CSV. This sample record will be used in the next step to generate the correct CSV template.
Navigate to:
Shipment Management > Location Manager > New
Fill in the required fields — Location GID, Name, Address — and save the record.
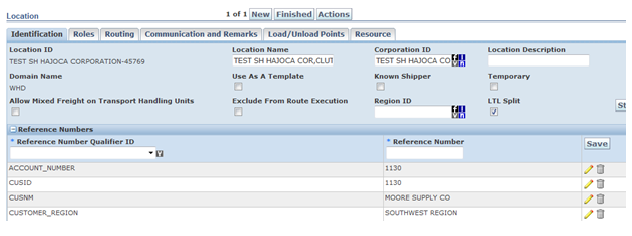
OTM stores Location data in the LOCATION table. To export just your sample record, you need a WHERE clause that identifies it. The Location GID’s Xid maps to LOCATION_XID:
SELECT * FROM location WHERE location_xid = 'YOUR-LOCATION-XID'Note down the LOCATION_XID value — you will enter this as the WHERE clause in the next step.
Navigate to:
Business Process Automation > Data Export > CSV Export
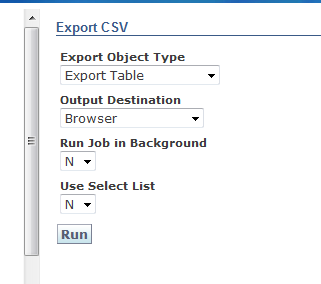
On the CSV Export screen, set Table Name to LOCATION and paste the WHERE clause from Step 2 into the WHERE clause field. Click Run.
OTM displays the exported data as grey text. Select all of that text and save it as a .txt file. Then open the .txt file in Microsoft Excel — when prompted, choose comma as the delimiter. Save the result as a .csv file.
To verify the file is correctly formatted, open it in a text editor (Notepad or TextPad) — you should see values separated by commas, with the column headers in the first line and the NLS date format in line 2.
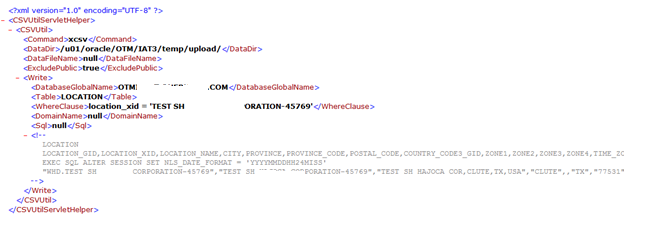
Add your actual records to the CSV file, following the same column structure as the exported sample row. Each row represents one Location (or whichever object you are loading). Do not change the column order or the header rows.
Navigate to:
Business Process Automation > Integration > Integration Manager > Upload XML/CSV Transmission
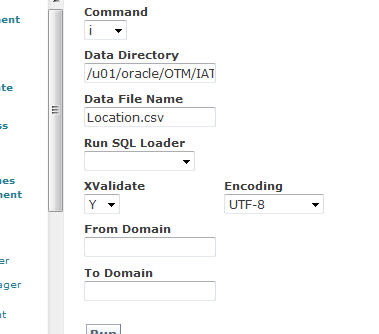
Browse for your .csv file and click Upload.
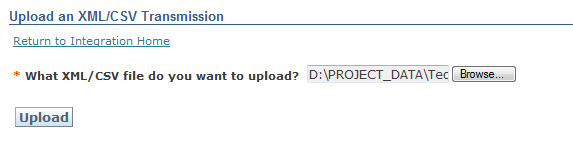
The Command field on the upload screen controls how OTM handles each record in the CSV:
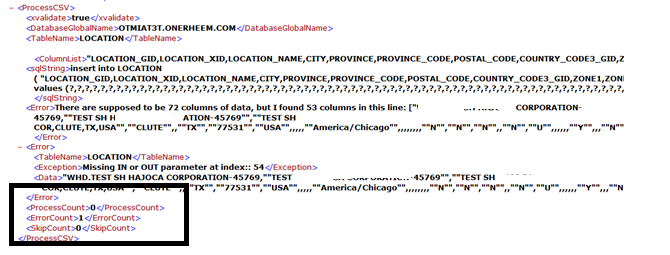
After the upload, OTM displays a results screen showing Process Count and Error Count. A non-zero Error Count means some records failed — click the error details to review.
What’s Next:
Now that you have seen the main methods for loading data into OTM — XML uploads, HTTP POST from PL/SQL, and CSV uploads — the next topic covers OTM Outbound Integrations: how OTM sends data out to external systems such as carrier platforms, ERP applications, and middleware.
Next Topic: Outbound Integrations